The extension build process timeline runs roughly 12 to 20 weeks for a typical single storey extension, depending on size, type of extension, and how smoothly the paperwork stage goes.
Here is a plain-English breakdown of every stage, what you will see on site, and when the key decisions need to be made.
Before anyone sets foot on site
A lot happens before the first digger arrives. This pre-start phase is where most delays creep in if it is not managed properly.
Planning permission or permitted development rights need to be confirmed first. Many rear extensions and side return extensions qualify under permitted development, meaning no formal planning application is needed.
However, if your property is in a conservation area, is a listed building, or the extension exceeds certain size limits, full planning permission is required. Submission to the local authority typically takes 8 weeks to get a decision.
Building regulations approval runs separately. Your structural engineer produces detailed drawings and specifications, which go to building control for sign-off. This can happen alongside the planning application, but building work cannot legally start until building regulations approval is in place.
If your extension sits close to a neighbour’s boundary, a party wall agreement is required under the Party Wall etc. Act 1996. Serving notice takes a minimum of two months, so this needs to start early. Your neighbours have the right to appoint their own surveyor.
Key pre-start checklist for homeowners:
- Confirm permitted development rights or full planning permission status
- Building regulations drawings signed off
- Party wall notices served (where applicable)
- Structural engineer calculations complete
- Builder appointed and contract signed
- Decisions made on doors, windows, kitchen layout, and electrics
Weeks 1 to 2: Groundworks begin
This is the noisiest, muddiest part of the entire build. Expect a skip on the drive, soil being removed, and your garden access changing. The team will mark out the footprint, excavate for foundations, and pour concrete. For a single storey extension, this stage is usually complete within 10 to 14 days.
A building control inspector will visit to check the foundations before concrete is poured. Do not skip this inspection as it is a legal requirement under building regulations.
Weeks 3 to 5: Shell construction
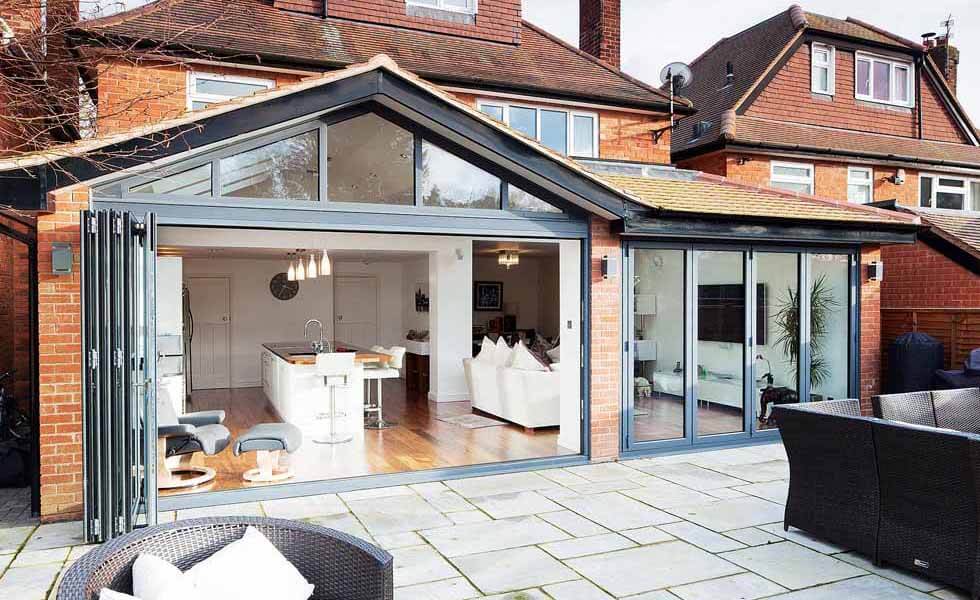
Blockwork or brick courses go up fast once the slab is in. You will see the walls rise and the shape of your new extension take form. For a wraparound extension or kitchen extension with a flat or pitched roof, the structural steel elements go in during this phase too.
This is a key decision point. Window and door openings are built into the structure now, so any changes to sizes or positions at this stage are expensive. Have your design team confirm all opening sizes before this phase starts.
Weeks 6 to 7: Roof structure and weatherproofing
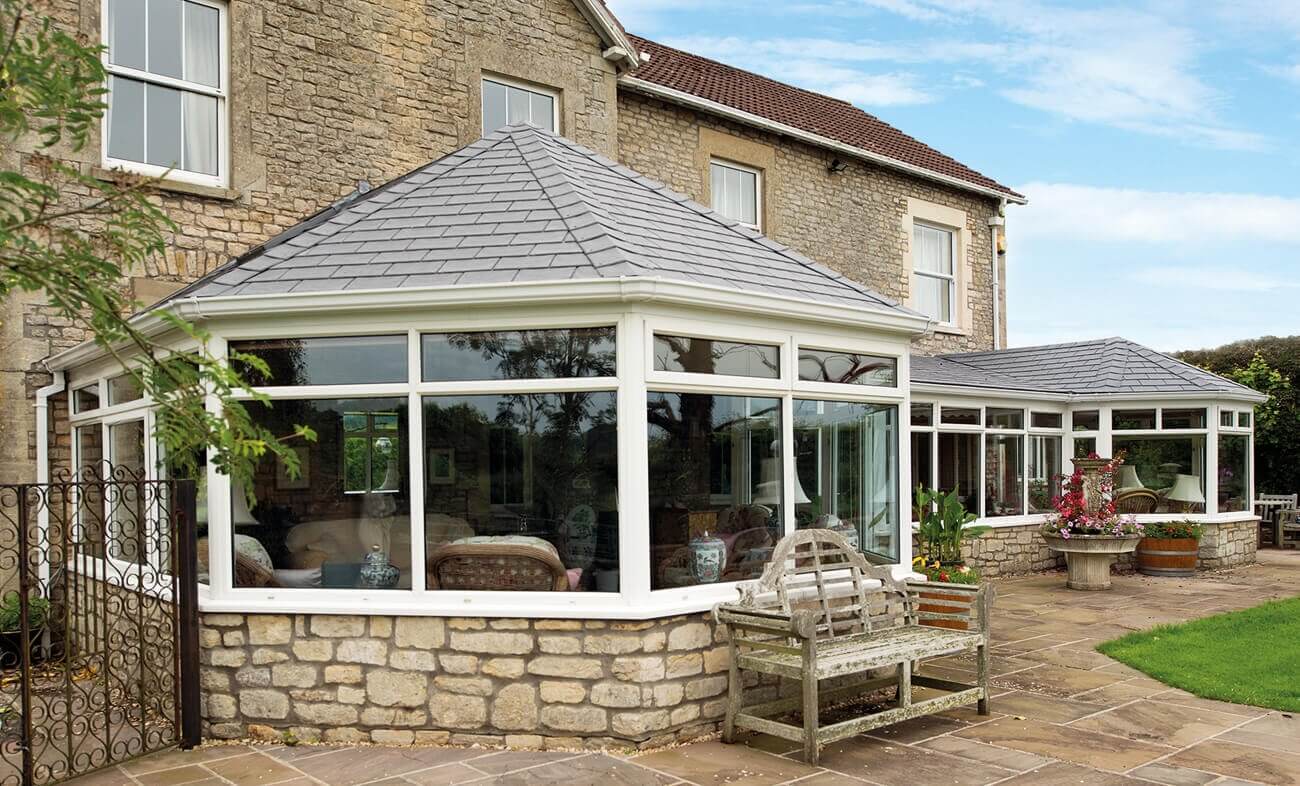
The roof goes on, followed by temporary weatherproofing if finishing materials are not going on immediately. A single storey extension with a flat roof moves quickly here. A pitched roof takes longer due to tiling.
Once the roof is watertight, the building control officer carries out another inspection.
Weeks 8 to 10: First fix
First fix covers everything hidden inside the walls and floor before plastering. Electricians run cables, plumbers lay pipework, and any underfloor heating is installed. This stage shapes where your sockets, lights, and radiators end up permanently.
If you are having a kitchen extension, your kitchen designer should have submitted a finalised layout to the builder by now. Moving plumbing positions after first fix is one of the most common causes of added cost in a home extension.
Weeks 11 to 12: Plastering and drying out
Plasterboard goes on, followed by wet plaster or a dry-line skim. Plaster needs time to dry fully, usually two to three weeks, before decorating. Rushing this stage leads to cracking and paint failure later.
The house will feel damp and cold during this phase. Keep windows slightly open to help moisture escape.
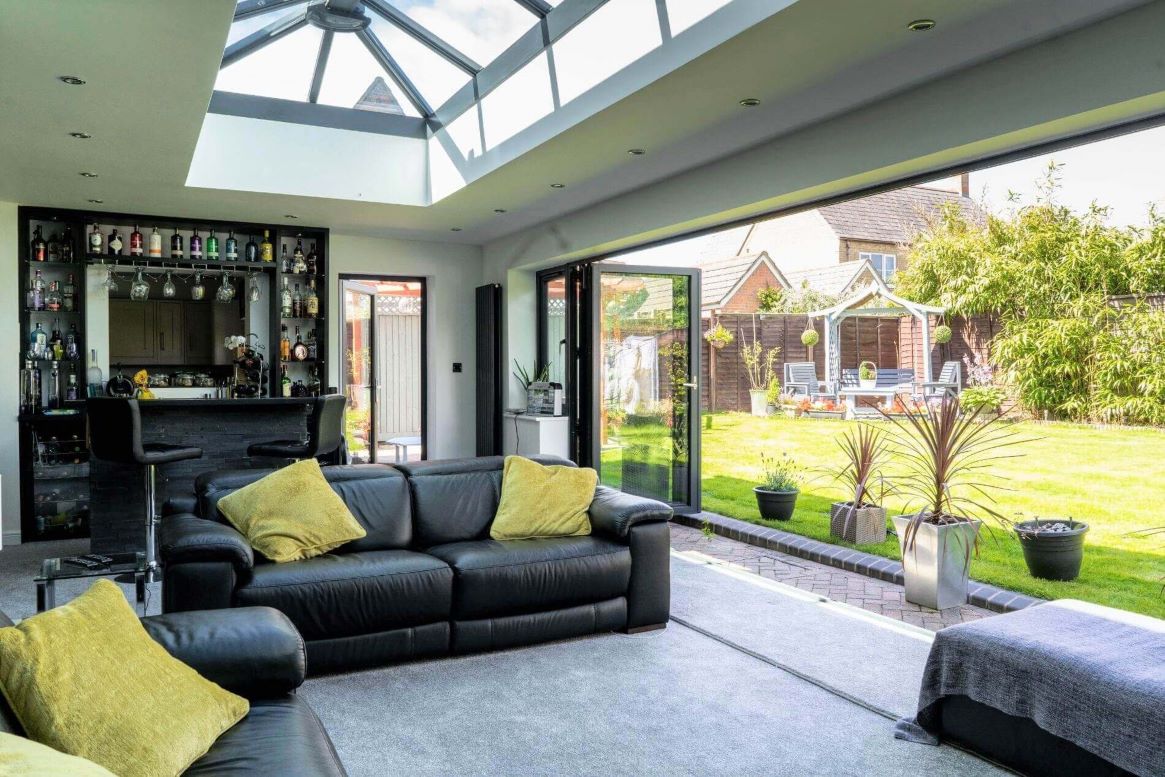
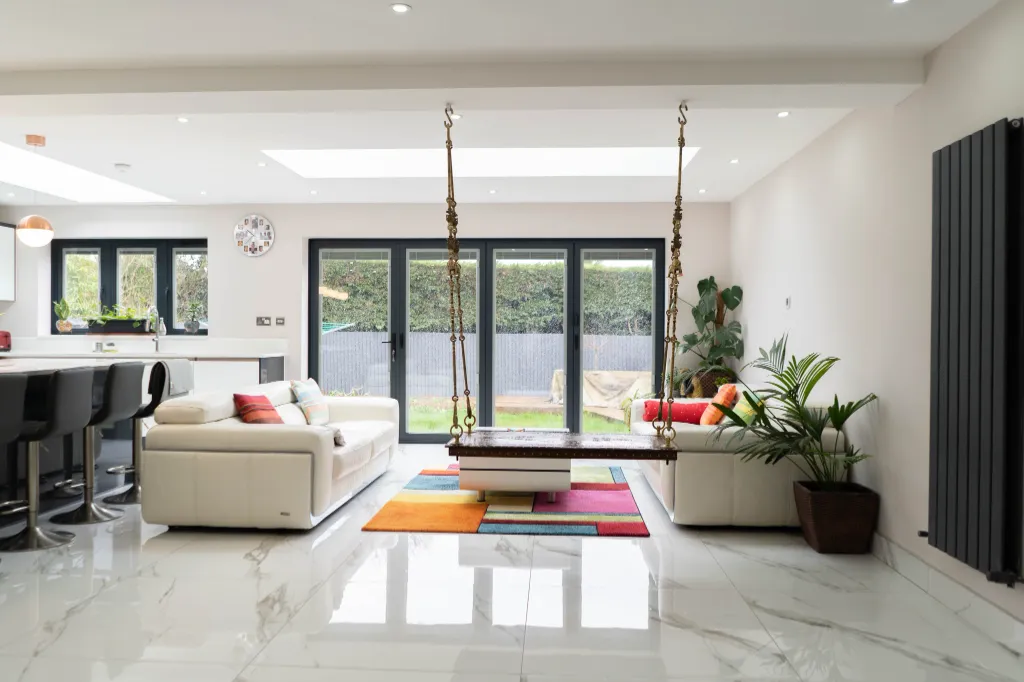
Weeks 13 to 16: Second fix, kitchen installation and decorating
Second fix brings sockets, switches and door handles. The kitchen goes in, appliances are connected, and tiling is completed. Decorating follows once all surfaces are dry.
This is the stage where your new extension starts to look finished.
Final weeks: Snagging and sign-off
Walk through with your builder and write a snagging list. A good contractor will work through this before final payment. Building control issue a completion certificate once all inspections are passed. Keep this document safe as you will need it when you sell.
How long does a house extension actually take?
| Type of extension | Typical build time (on site) |
| Small rear extension | 10 to 14 weeks |
| Single storey kitchen extension | 12 to 16 weeks |
| Side return extension | 14 to 18 weeks |
| Wraparound extension | 16 to 20 weeks |
These figures cover the construction phase only and do not include pre-start planning and building regulations time.
At West Midlands Home Improvements, we take care of every stage of your extension or renovation project – from your initial free consultation and planning application through to final snagging and sign-off. Our team ensures a smooth, well-managed process, giving you clarity and confidence from start to finish.
If you’re considering a home extension and would like guidance tailored to your specific plans, get in touch with our team. We’ll talk you through the process, timelines, and what to expect at each stage, helping you move forward with a clear and practical plan.
Get started today:
Complete our Consultation Form or call 0121 726 6730 for more information.
 Finance Options